Many people on YouTube have their Filo-flax or Kiki-K planners but I found those to be way too bulky for my liking. Not only are they bulky to me but they are super expensive!!! I thought it was expensive to pay $20 for a planner - some of these planners can cost up to $80! >.< Who has that kind of money to spend like that on a planner! Not me! Hehe! Even if I did I'm pretty sure I wouldn't be spending it on that! I took some pictures of the planner that I am currently using and I am thoroughly enjoying it and I'm getting quite attached! Let's get this started! Sorry if there's too many pictures!
This is the cover of the planner that I bought. I bought this from Yesstyle.com for about $17.00. The little character's name is Simsimtokki. There were other colors of this planner with different pictures on the front but they were out of the ones that I really wanted to I chose plain 'ol white!
Here I'm just showing how small this planner is. It really is pocket size! It can fit in purses and bags with ease!
This is the first page that you'll open up to. I added the edging on the side with some washi tape that I purchased from Michael's.
Here is the Year in overview page. There was one mistake in the planner. I'm not sure if you're able to see it or not but I had to cross out January in the 3rd spot because they accidentally put January twice instead of putting in March!
This is what the monthly overview pages look like. There are twelve of these. As you can see this is the one for March since we're in the month of March :D This is an undated planner so you'll have to fill in the dates for each calendar.
This is what the weekly overview pages look like. This is one that I haven't filled out yet since we aren't in the month of April yet...
Here is a weekly overview that I filled out in the month of February. I like to put squares next to the tasks that I have to do. I reward myself with a check mark if I get it done. If I don't accomplish the task then I mark it with a bright yellow highlighter! As you can see there's quite a lot of yellow in this week!
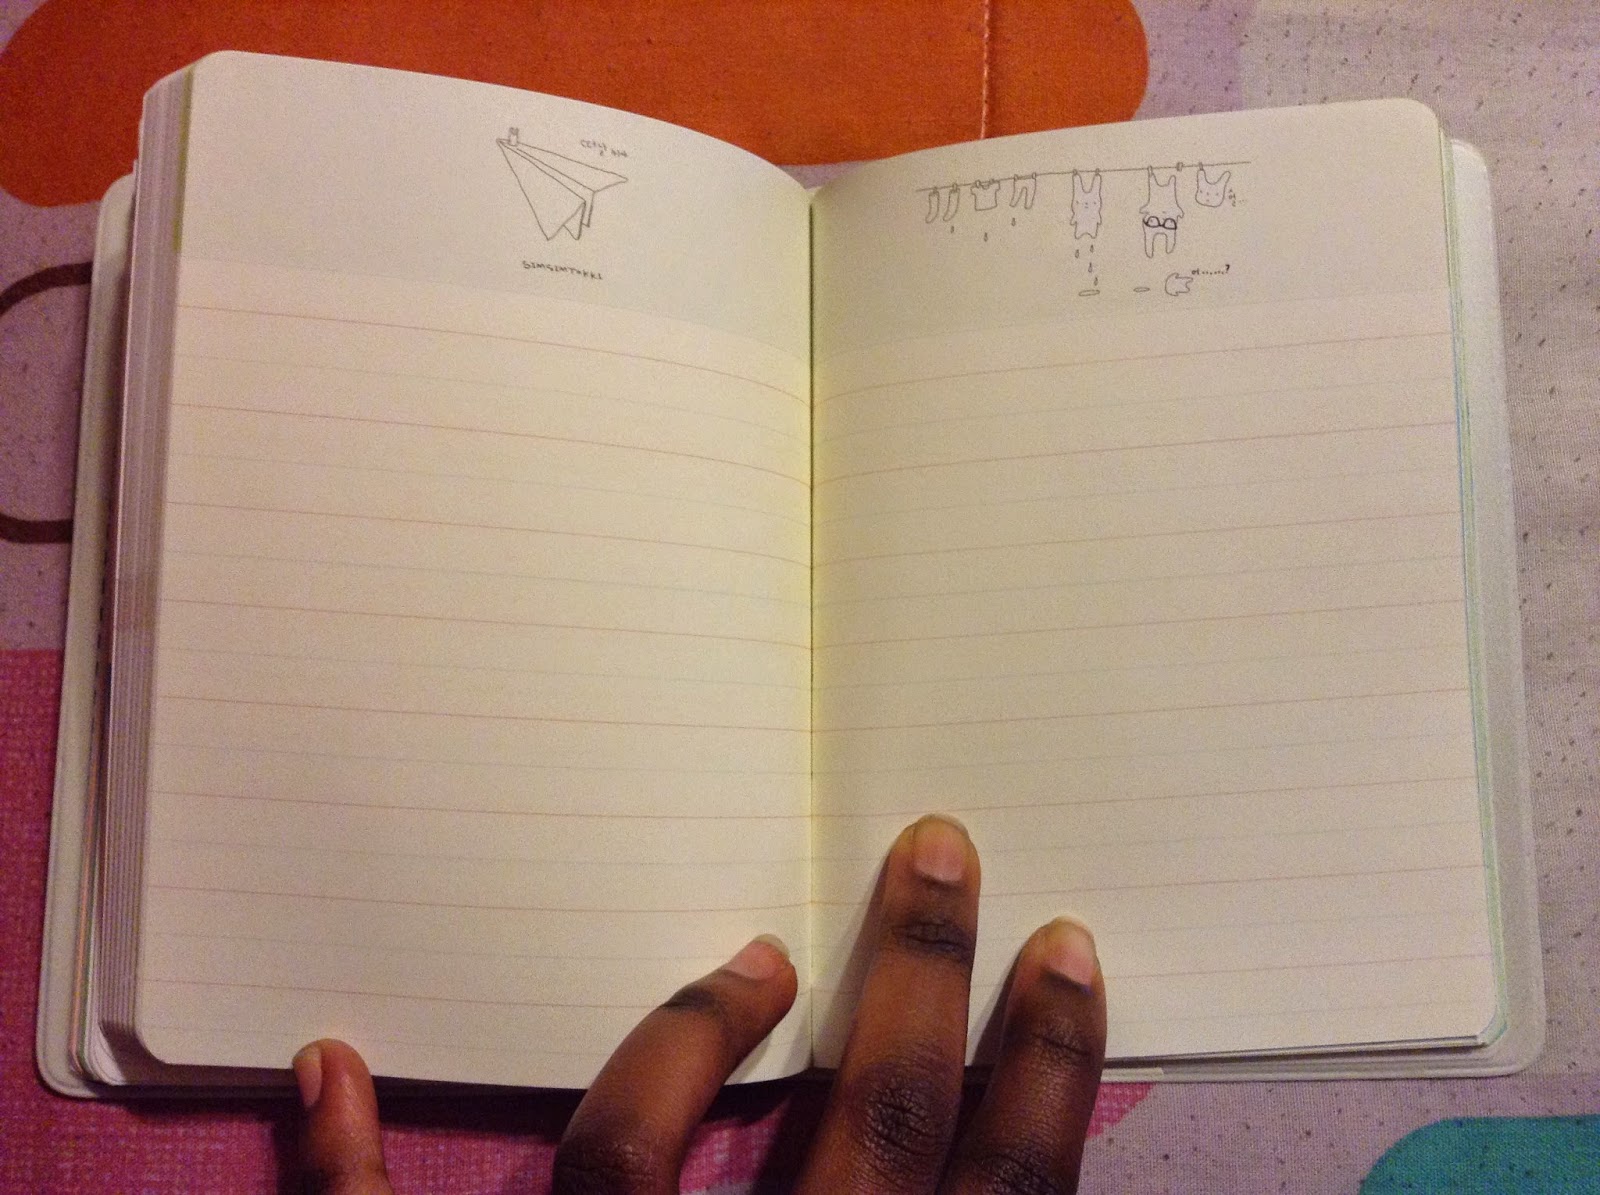
After all the weekly overview (which there are about 54 I believe...) there is a note taking area where you can write or jot down anything you wish.
There is a free not taking space after all the lined note pages.
Here's an example of how I'm designing my free note section. I like to put little photos of cool things or just little things I find appealing :)
The last page in this planner is the Personal Data page. The bar code is simply me just covering up my personal information that I put in there
Lastly here is a quick little picture of the washi tape that I've been using in this planner so far!
I hope you've enjoyed my planner over look that I have going on so far! This planner is perfect for me because it is nice and slim and gets the job done! It really has truly helped me to stay on top of things :D Sorry about the overload of pictures I just wanted to make sure every little detail of this planner was shown. Talk to you all in the next blog post!
~Allie Jean


No comments:
Post a Comment